How To Wire A Frame For Beginners
by Anita Deeley at BeverlyBees.com
When you are using wax foundation in your hive, after your assemble the frame and before you install the foundation, you need to prepare your frame by wiring it. Wiring the frame gives the wax strength and support, keeps the drawn comb from sagging in the frame and helps strengthen the comb against breakage when extracting honey.
How To Wire A Frame
Before you begin you need an assembled frame, frame wire, eyelets, an eyelet punch, a hammer, needle nose or lineman’s pliers and 5/8″ frame nails. If you need to assemble your frame please read How To Assemble A Frame. To view a larger version of any picture in this post just click on it.
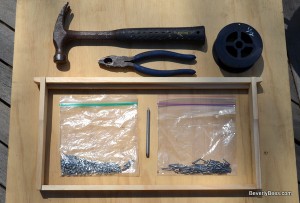
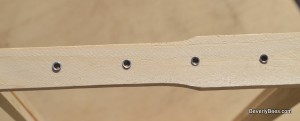
1. First, install the eyelets into the side bars of the frame using the eyelet punch. The eyelets prevent the wire from digging into the wood of the frame. Pick up the eyelets using the eyelet punch and install them into the holes on the sides bars. Push down until the eyelets fit snugly. Continue until all the holes on the side bars have eyelets installed. A deep frame has 8 eyelet holes.
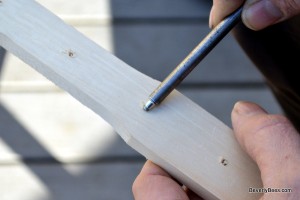
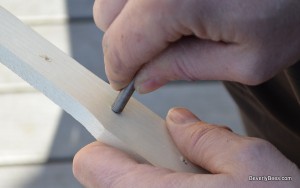
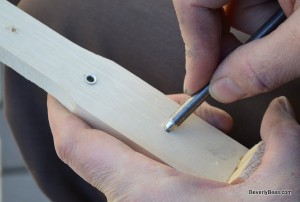
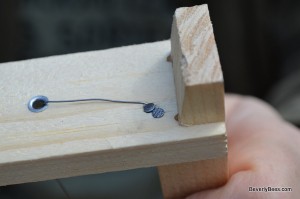
2. Next, partially hammer one 5/8″ nail into the bottom bar of the frame, as seen in the picture below. The nail should be on one side of the groove. Do not hammer the nail in all the way. This nail will be used to hold the wire when wiring the frame.
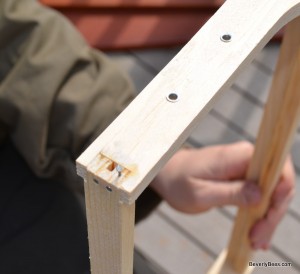
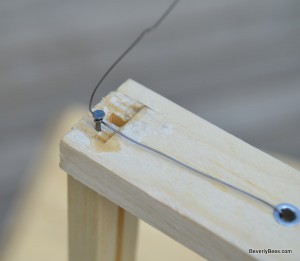
3. On the same side of the frame, partially hammer another 5/8″ nail into top bar adjacent to the 1 1/4″ nail that is used to hold the frame together. Do not hammer this nail in all the way. This nail will also be used to loop the wire around when wiring the frame.
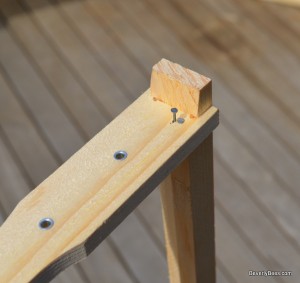
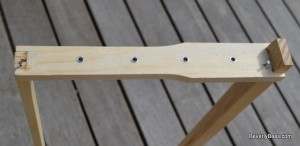
4. Now you are ready to wire your frame. Start wiring on the same side of the frame as the two 5/8″ nails you just hammered. Thread the wire through the first eyelet starting at the bottom of the frame. Pull the wire across the frame and out the parallel eyelet on the other side of the frame.
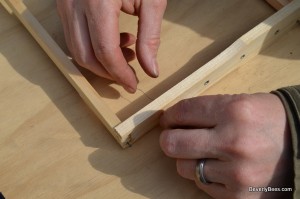
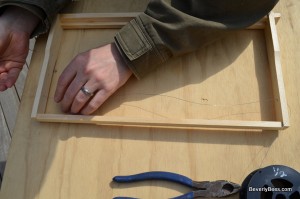
5. Next, thread the wire up against the side of the frame and through the third eyelet. Pull the wire across the frame and out the eyelet on the same side of the frame you started the wiring process.
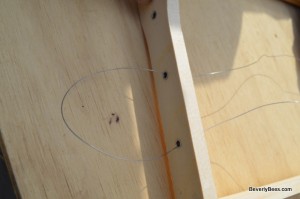
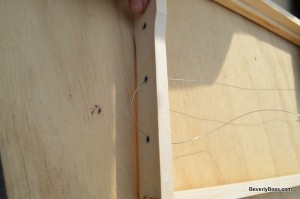
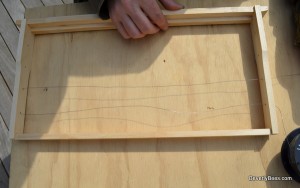
6. Continue this process until all eyelets have been threaded. For a deep frame you should have 4 wires going across your frame when you are finished.
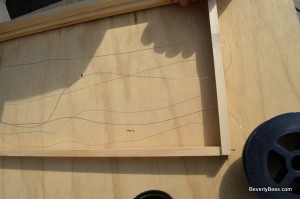
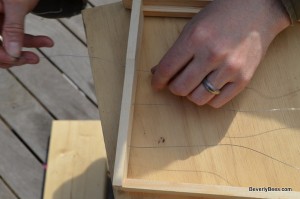
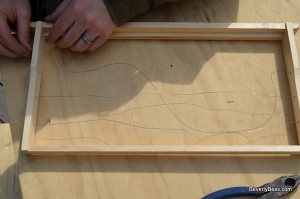
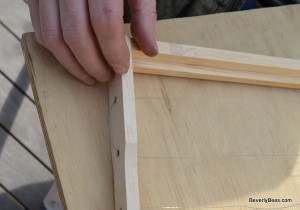
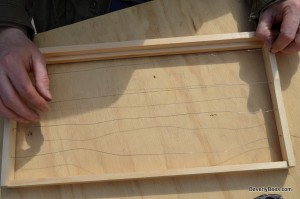
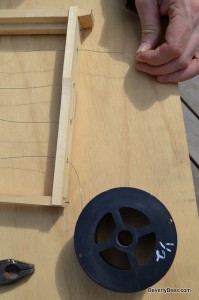
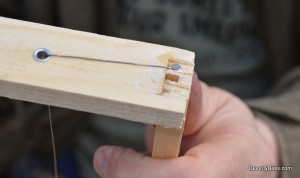
7. Now that the wire is threaded through all eight eyelets, you need to secure it. Take the wire and tie a few loops around the nail near the top bar and hammer in the nail completely to secure the wire loop against the frame.
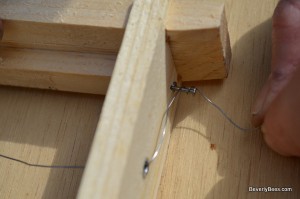
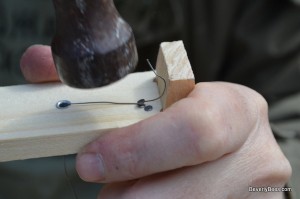
8. After the nail is hammered in, move the excess wire back and forth gently. It should break off at the nail leaving a clean break.
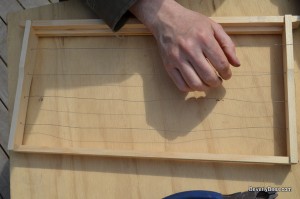
10. Once the wire is pulled tight through the frame you can cut the wire with the pliers.
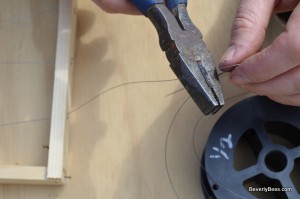
11. Wrap wire loosely around the bottom nail to prevent the wire from coming out of the frame.
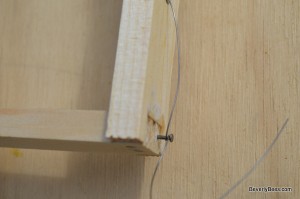
12. Now pull the wire very tight through the frame, pulling the all excess wire out the eyelet above the bottom nail.
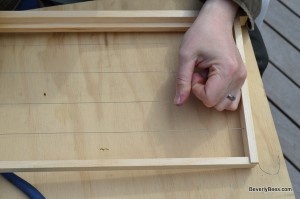
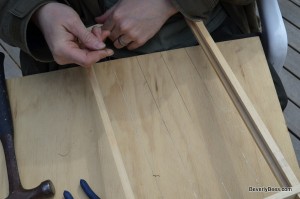
13. Unloop the wire from the bottom nail and pull the wire tight.
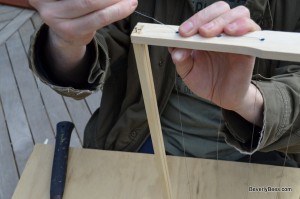
14. Pull the wire as tight as you can and reloop the wire multiple times around the nail in the bottom of the frame.
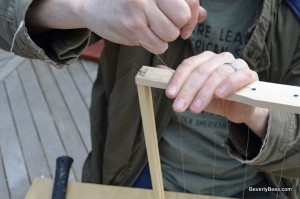
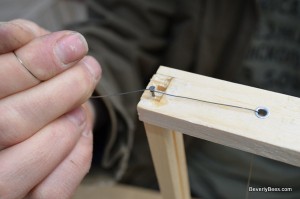
15. Use your pliers to turn the nail, twisting the wire around the nail. The wire will get tighter as the nail is turning.
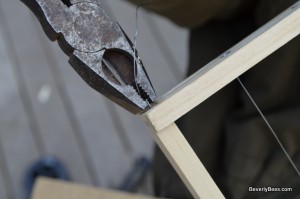
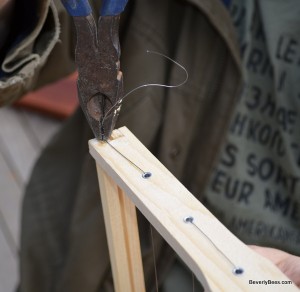
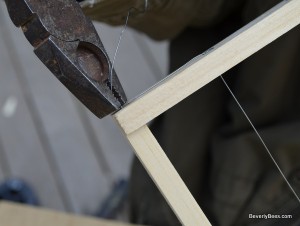 16. When the wire is tight enough it should make a pinging sound when plucked.
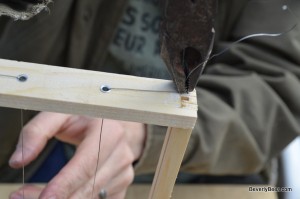
17. Once the wire is tight and makes noise when plucked, hammer in the nail on the bottom of the frame. Break off excess wire by moving it back and forth under the nail.
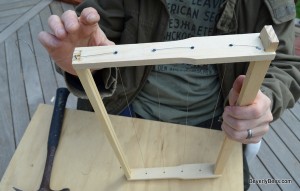
18. Your wired frame should look like this.
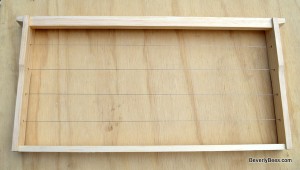
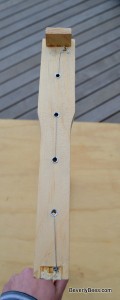
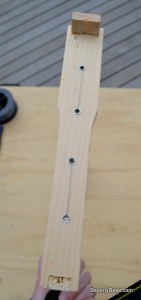
Congratulations! Your frame is now wired and ready to install foundation.
Copyright © 2011-2014. Anita Deeley, BeverlyBees.com. All rights reserved.
Other Posts You May Enjoy:
- How To Assemble A Frame – A Beginner Beekeeper’s Guide
- Parts Of A Beehive – A Beginner Beekeeper’s Guide
- The Unassembled Bee Hive – A Beginner Beekeeper’s Guide
- How To Set Up A Beehive Video – A Beginner Beekeeper’s Guide
- How To Assemble A Hive Box or Super – A Beginner Beekeeper’s Guide
- How To Paint A Beehive – A Beginner Beekeeper’s Guide
